
2 November 2026
Waterfall long exposure photography: ND filter basics for NZ
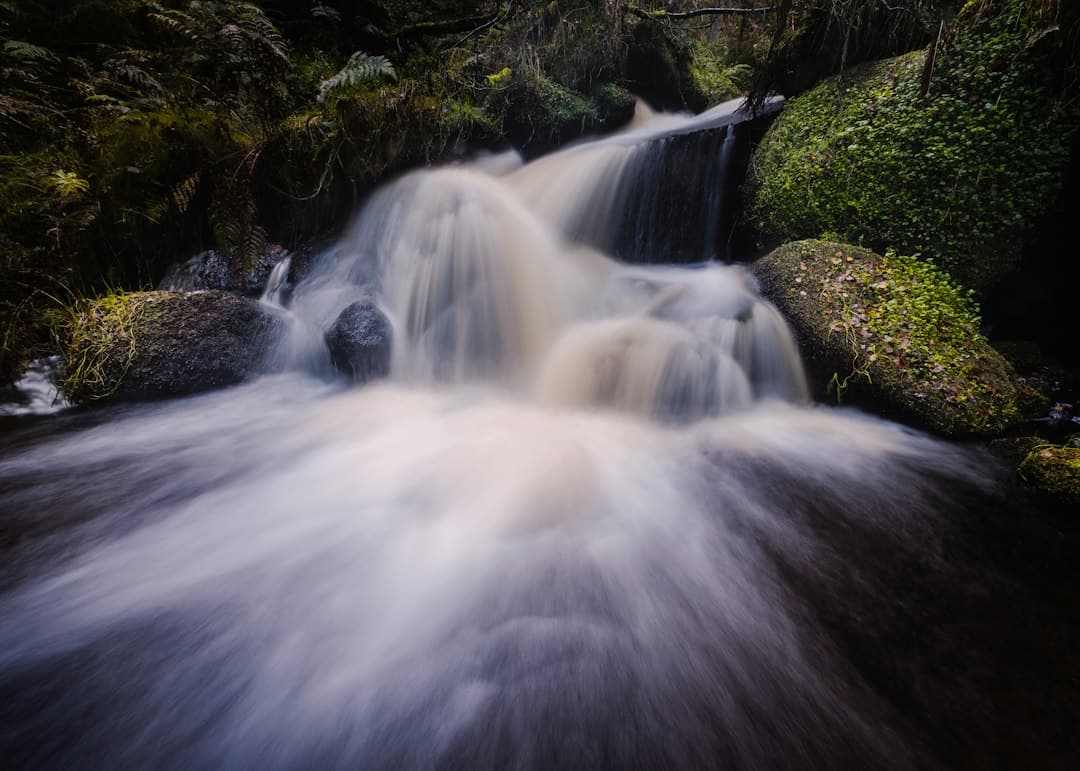
New Zealand has more waterfalls per square kilometre than most of us can count, and that silky, dreamy water effect you see in good photos of them is not luck. It comes from a technique called long exposure photography, and it is easier to learn than most beginners expect.
A long exposure means leaving your camera's shutter open for longer than usual, often one second or more, so moving water blurs into soft streaks while the rocks and trees around it stay sharp. The problem is that daylight is bright. If you try a two second exposure at midday without help, your photo will be completely white. That is where a neutral density filter, or ND filter, comes in. It is basically a piece of dark glass or resin that sits in front of your lens and blocks light, the same way sunglasses work for your eyes. Block enough light and you can slow your shutter right down even in full sun.
ND filters are rated by how many stops of light they cut. A 3 stop filter is mild and good for overcast days or shaded forest waterfalls. A 6 stop filter works well for most daytime waterfall shots in NZ bush settings. A 10 stop filter is the strong one, often used for very bright conditions or when you want exposures of 30 seconds or longer to really smooth out the water. For a beginner's kit, I would suggest starting with a 6 stop filter. It handles the majority of waterfall scenes you will find around places like the Catlins or the Coromandel without forcing you into extreme exposure times that can overexpose skies.
Setting up is simple once you know the order of operations. Compose your shot and focus first, before the filter goes on, because strong ND filters make it very hard for your camera to find focus through all that darkened glass. Switch to manual focus once you are locked in, so the camera does not hunt around and lose your settings. Then fit the filter, switch your camera to aperture priority or manual mode, and set your aperture to something like f/8 or f/11 for good sharpness front to back. From there, adjust your shutter speed until the exposure looks right on your histogram, not just on the screen, since bright daylight can trick the display.
Shutter speed is really the creative control here. Half a second gives you water with visible texture and movement. Two to four seconds gives that classic soft, misty look most people associate with waterfall long exposure photography. Anything past ten seconds and the water can start to look flat and featureless, almost like fog, which some photographers love and others find too much. Try a few different speeds on the same waterfall and compare them side by side. You will quickly develop a preference.
A sturdy tripod is not optional for this kind of work. Even a tiny bit of camera shake during a four second exposure will blur your rocks and trees along with the water, and that just looks like a mistake rather than a creative choice. Use a remote shutter release or your camera's two second timer too, so you are not pressing the shutter button and introducing shake right as the exposure starts. If you are shooting near spray, bring a cloth. Waterfall mist settles on front filters faster than you would think, and a soft water spot can ruin an otherwise lovely frame.
Composition matters just as much as the technical side. Look for a clean foreground rock or log to lead the eye toward the falls, and watch your edges for stray branches creeping into frame. A polarising filter stacked with your ND can also cut glare off wet rocks and deepen the greens of the bush, which makes a real difference in NZ forest settings where everything tends toward a similar tone. These composition skills carry over directly into other genres too, and if you want a broader grounding in framing, light and exposure, our photography course covers all of it in a practical, hands on way.
If you end up loving the moving water look, it is worth experimenting with video as well, since the same ND filter logic applies when you want smooth, cinematic motion in bright conditions. Our videography course goes into that side of things if you fancy branching out from stills.
A few common questions come up again and again with new students, things like filter thread sizes, cheap versus expensive ND filters, and whether you need a special tripod for wet rocky ground. We have answered a lot of these on our FAQ page, so that is worth a read before you buy any gear.
Start with one accessible waterfall near you, bring a tripod, a 6 stop ND filter if you can get one, and spend an hour trying different shutter speeds. You will learn more in that hour than from any amount of reading. If you want proper guidance on settings, composition and gear choices, come and join us on the photography course and we will get you shooting confidently in no time.