
9 October 2026
NZ's Milky Way Season Begins: When & Where to Shoot
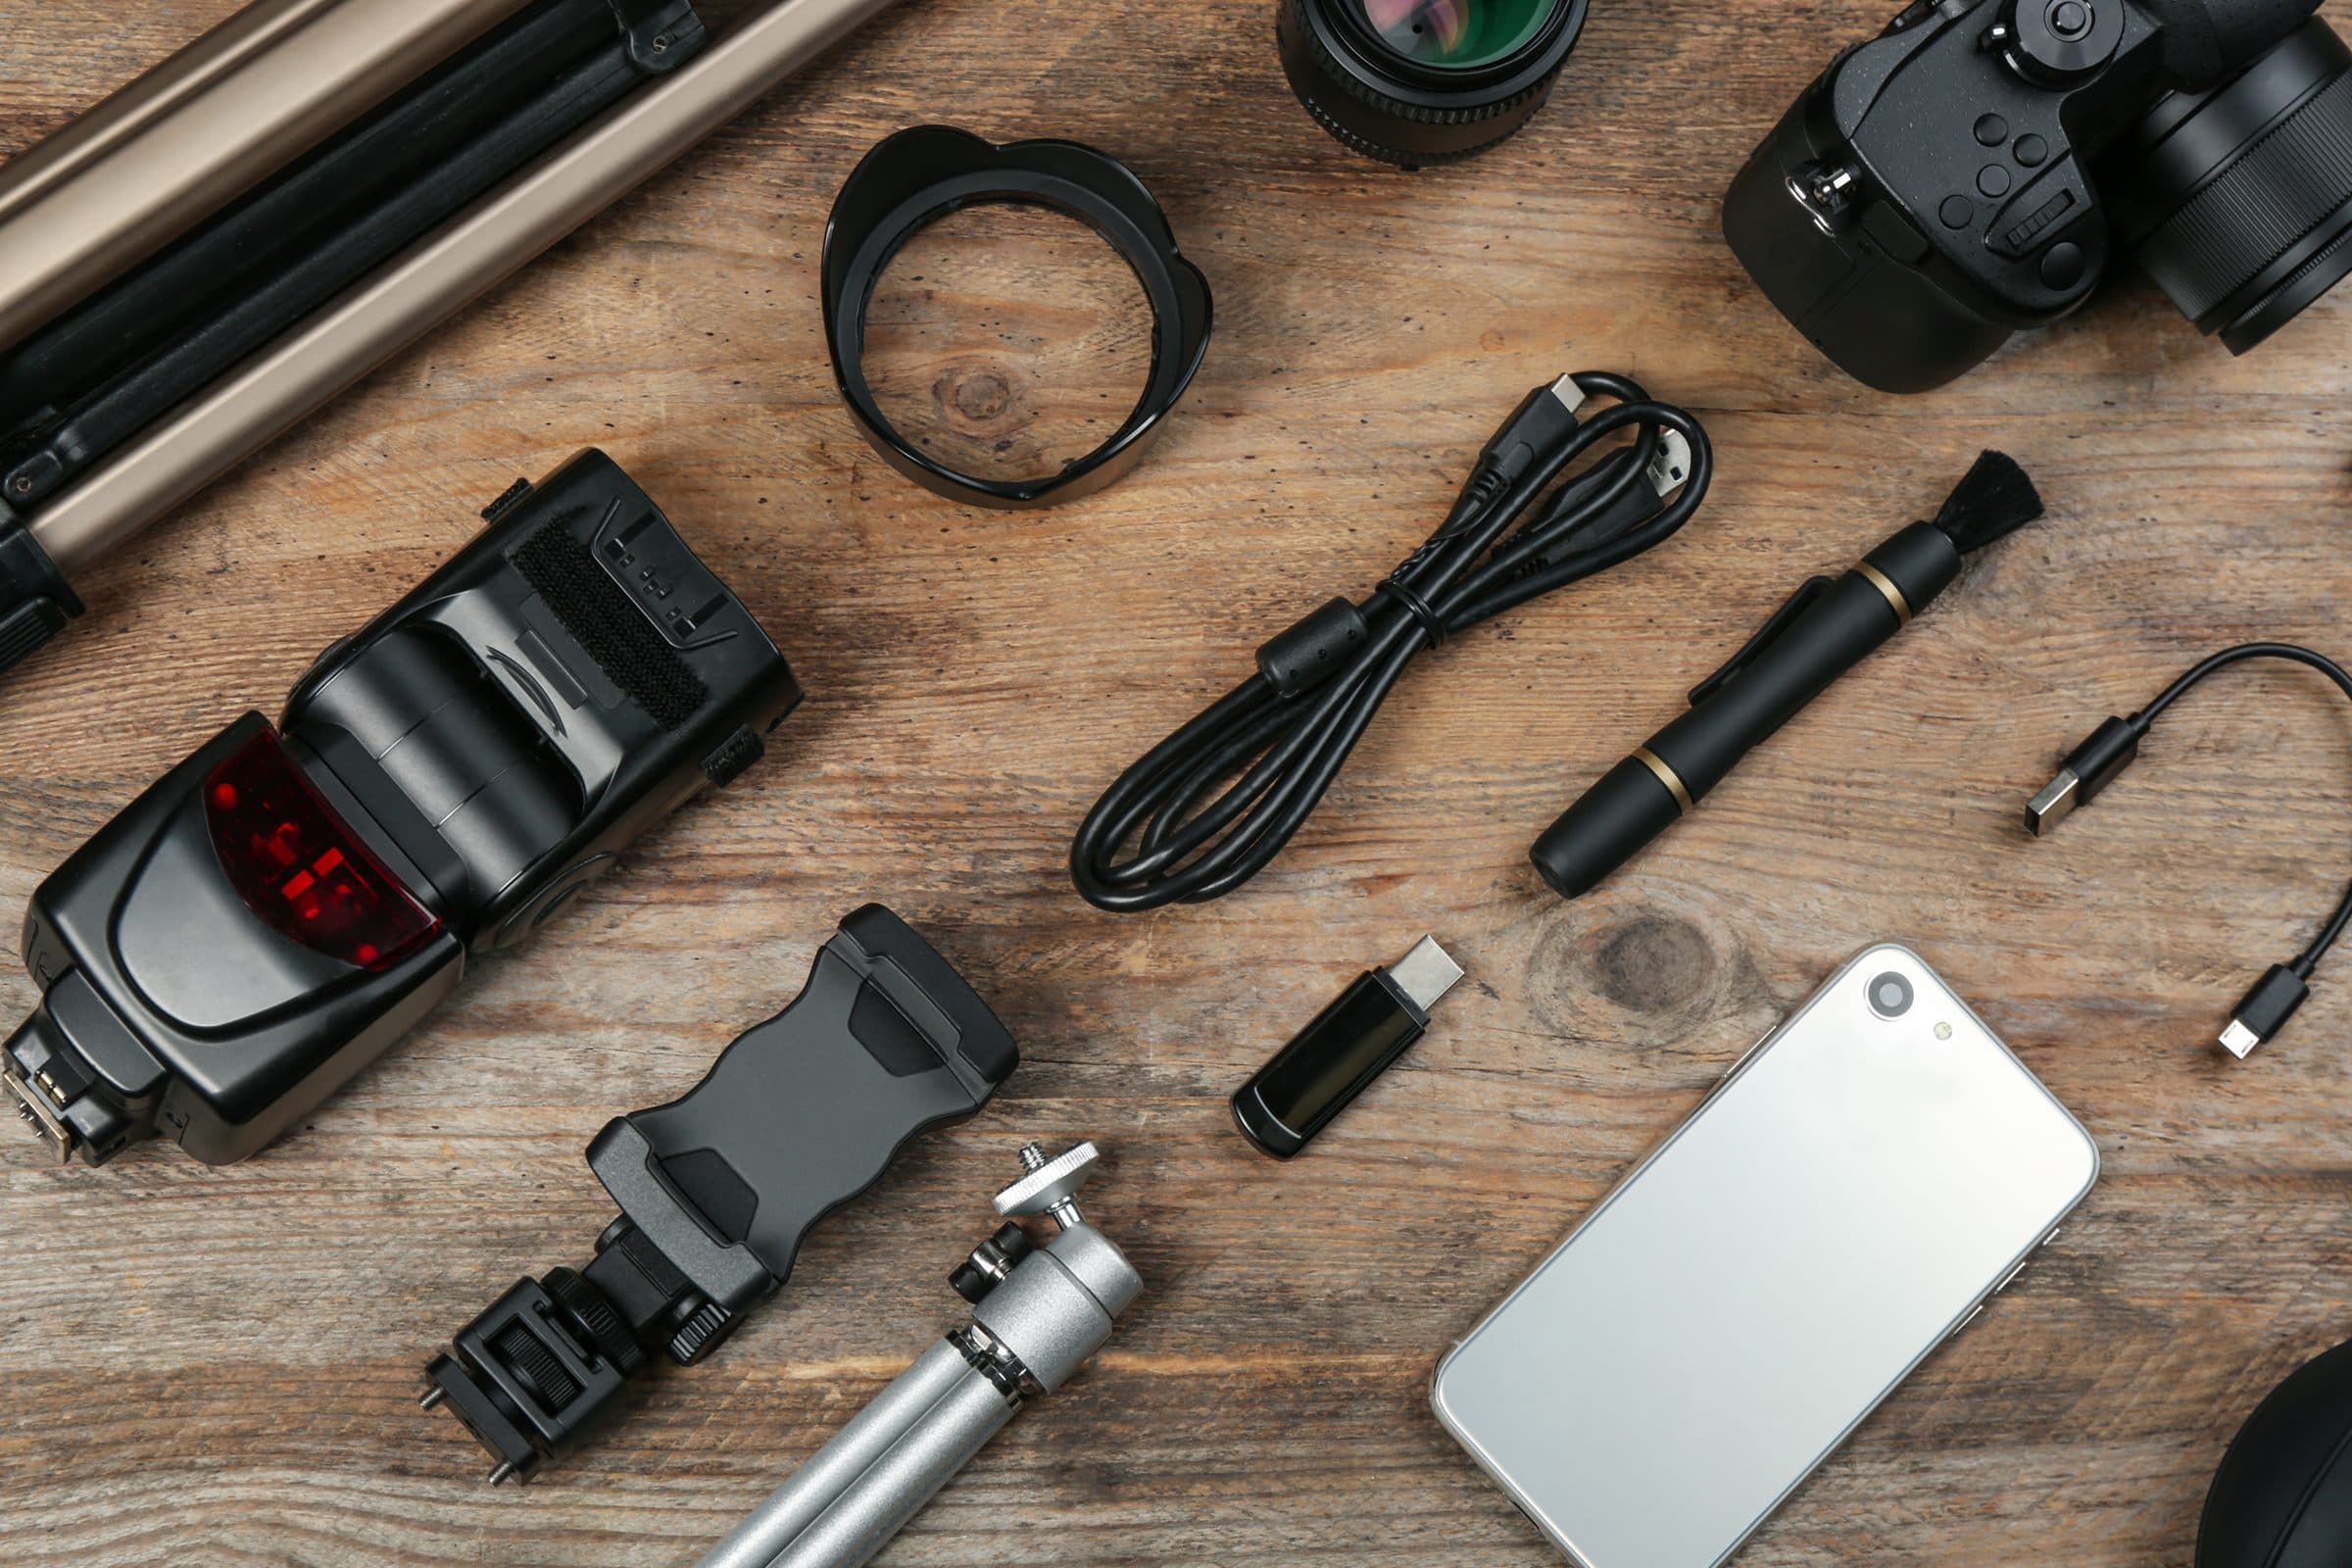
Grab your tripod and set an early alarm: milky way season is back, and New Zealand is one of the best places on the planet to photograph it. If you've ever scrolled past a jaw-dropping shot of the galactic core arching over a mountain or lake and thought "I wish I could do that," this is your sign to give it a go. Milky way photography nz style doesn't require expensive gear or years of experience, just a bit of planning and a willingness to stay up late.
In the Southern Hemisphere, the galactic core of the Milky Way becomes visible from roughly February through to October, with the core rising earlier each night as the months go on. Right now, as we move through autumn and into winter, you'll find the core visible in the pre-dawn hours, gradually shifting to an evening show by mid-year. This is genuinely one of the best windows for beginners because the nights are longer and the core sits higher in the sky for a good chunk of the evening.
You'll also want to pay attention to the moon phase. A new moon (or a few days either side of it) gives you the darkest skies and the most vivid, contrasty shots of the stars. Check a moon calendar alongside your local sunset and astronomical twilight times, and you'll start to notice a pattern of "good nights" appearing a few times each month.
If you're new to planning shoots around light and timing, this is a great skill to build early. Our photography courses cover light, exposure, and planning in depth, so you're not just guessing when to head outside.
New Zealand's biggest advantage is simple: dark skies. Away from city light pollution, the Milky Way can look almost unbelievably bright and detailed. Some reliably excellent spots include Lake Tekapo and the Mackenzie Basin (an International Dark Sky Reserve), Wharariki Beach in Golden Bay, Castlepoint in the Wairarapa, and pretty much anywhere along the West Coast of the South Island with a clear southern horizon.
For North Islanders, Great Barrier Island and the Coromandel's quieter beaches offer surprisingly dark conditions within a few hours' drive of Auckland. The key ingredients are the same wherever you go: minimal light pollution, a clear forecast, and an interesting foreground (think mountains, lakes, old barns, or a lone tree) to give your image a sense of place rather than just stars on black.
Scouting your location in daylight first is a habit worth building. It helps you find safe footing, compose your foreground, and avoid fumbling around in the dark later. It's a similar mindset to scouting a location for a portrait photography session: light and composition matter just as much under starlight as they do under the sun.
You don't need the fanciest camera to start, but a few basics will make a huge difference. Use a sturdy tripod, shoot in manual mode, and set your lens to its widest aperture (f/2.8 or wider is ideal, though f/3.5–f/4 can still work). Start with a shutter speed of around 15–20 seconds to avoid star trails, and bump your ISO up to somewhere between 1600 and 6400, adjusting based on your camera's noise performance.
Manual focus is essential. Autofocus struggles in the dark. Zoom in on a bright star using your camera's live view screen and fine-tune focus until it's a sharp pinpoint. A basic intervalometer or even your phone's camera timer app can help trigger the shutter without introducing camera shake.
If you're keen to push further into night-sky work, time-lapses of the stars rotating overhead are a great next step, and they tie in nicely with the skills taught in our videography courses, where motion, timing, and exposure all come together.
Dress warmer than you think you need to. Clear, dark-sky nights get cold fast, especially away from towns. Bring a torch with a red-light mode so you can see your gear without ruining your night vision, and let someone know where you're heading if you're shooting somewhere remote. It's also worth checking you're not accidentally wandering into private land or wildlife habitat; if you're interested in combining night photography with animal encounters, our wildlife photography course covers ethical, respectful approaches to shooting in natural environments after dark.
Milky way season is a good excuse to get outside, slow down, and learn a genuinely rewarding photography skill. The results are often more about patience and planning than expensive gear, which makes it a great starting point for beginners.
If you've got questions about gear, settings, or which course suits your goals, our FAQ page is a great place to start, or jump straight into a structured course and have your first milky way shot ready before the season ends.