
15 October 2026
Harsh Sunlight Photography Tips for Summer Portraits
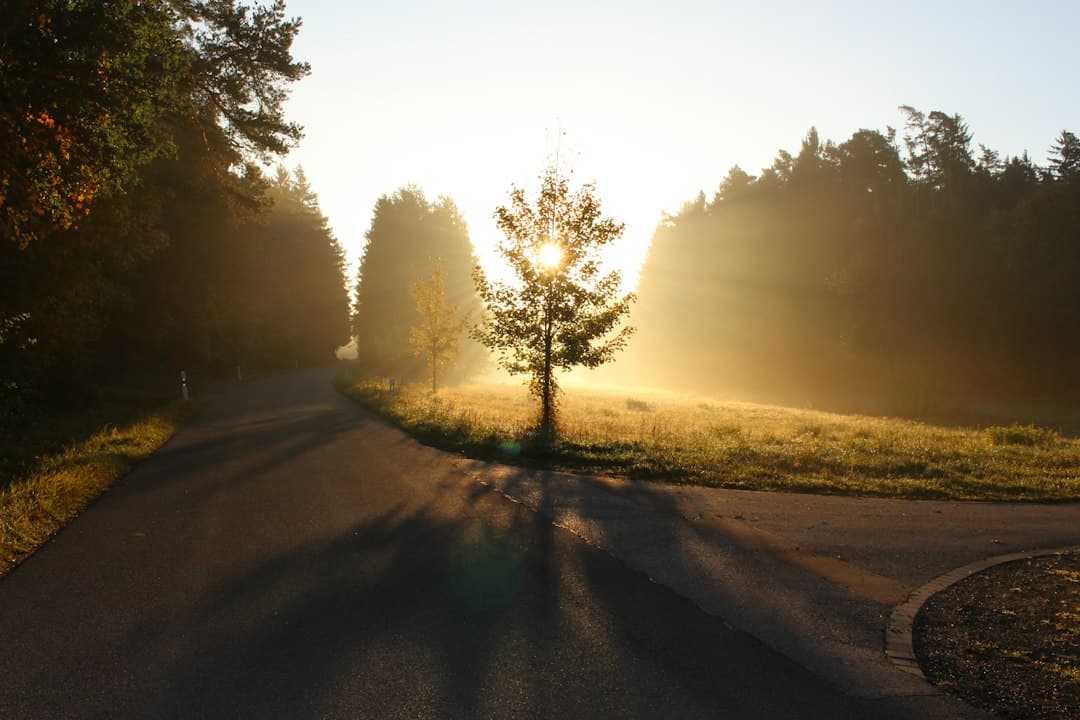
Summer in New Zealand means long, golden days, but it also means that blazing midday sun that casts harsh shadows under eyes, blows out highlights, and leaves your subjects squinting. The good news? You don't need to pack away your camera until evening. With a few simple fill-flash tricks, you can turn that harsh light into a creative advantage. Let's walk through exactly how.
When the sun sits directly overhead, light comes from almost straight above your subject. This creates deep shadows in eye sockets, under noses, and beneath chins, not exactly flattering for portraits. The contrast between bright highlights and dark shadows is often too much for your camera's sensor to capture evenly. You end up with blown-out skies or crushed black shadows.
Many beginner photographers assume the only fix is to avoid shooting at midday altogether. While golden hour is undeniably gorgeous, waiting for the 'perfect' light isn't always practical, especially at family gatherings, weddings, or travel shoots where you're working with the sun you're given. This is where fill-flash becomes your best friend. It doesn't remove the sun's harshness entirely, but it fills in those unflattering shadows so your subject's face is evenly lit and full of life. If you're keen to understand light in more depth, our photography courses cover exposure, flash, and natural light balancing in detail.
Fill-flash simply means using your flash, built-in or external, to add a small amount of light into a scene that's already bright. The goal isn't to overpower the sun, but to 'fill' the shadows so there's less contrast between light and dark areas on your subject's face.
Here's the simple version: set your camera's exposure for the background (the sky, the beach, the garden), then let your flash gently lift the shadows on your subject. The result is a correctly exposed background with a well-lit subject in the foreground: no more silhouettes or raccoon-eye shadows.
This technique makes a real difference for anyone shooting people outdoors in summer, and it's a core skill we teach hands-on in our portrait photography course, where you'll practise balancing flash with natural light on real subjects.
Fill-flash works outside portraits too. Wildlife photographers often use a similar technique, sometimes called 'fill-light', to bring detail into the shadowed side of an animal photographed in strong sun. If animals and birds are more your thing, our wildlife photography course explores how to adapt these lighting principles in the field.
You don't need expensive gear to try this. Many cameras and even some phones have a pop-up or built-in flash capable of fill-flash. Here's a beginner-friendly starting point:
- Mode: Switch to Aperture Priority (A or Av) so you control depth of field while the camera handles shutter speed.
- Flash: Turn your flash on manually. Don't let it stay in 'auto', as the camera may decide it isn't needed.
- Flash exposure compensation: Dial it down to around -1 or -2 stops so the fill light looks natural, not overpowering.
- Position your subject: Have them face slightly away from the sun, using it as a soft rim or backlight, while your flash lights their face from the front.
It takes a little practice to find the right balance, but once you nail it, your outdoor portraits will look more professional: crisp blue skies, natural skin tones, and no more harsh shadows.
Like any new skill, fill-flash takes some trial and error. Start with a willing friend or family member in your own backyard around midday. Take a few shots without flash, then turn it on and compare the difference. You'll see how much more polished the flash versions look.
If you're shooting video rather than stills, similar lighting principles apply when working outdoors in strong sun; our videography course covers how to manage exposure and shadow detail when filming in bright conditions.
Still have questions about gear, settings, or which course suits your goals? Our FAQ page answers the most common beginner questions, from camera basics to course enrolment.
Harsh midday sun doesn't have to mean packing up your camera. With a little fill-flash know-how, you can shoot professional-looking portraits any time of day. If you'd like hands-on guidance and personalised feedback as you build this skill, join us in our portrait photography course and start putting these tricks to work on your next summer shoot.