
24 October 2026
How to photograph the Geminid meteor shower over NZ
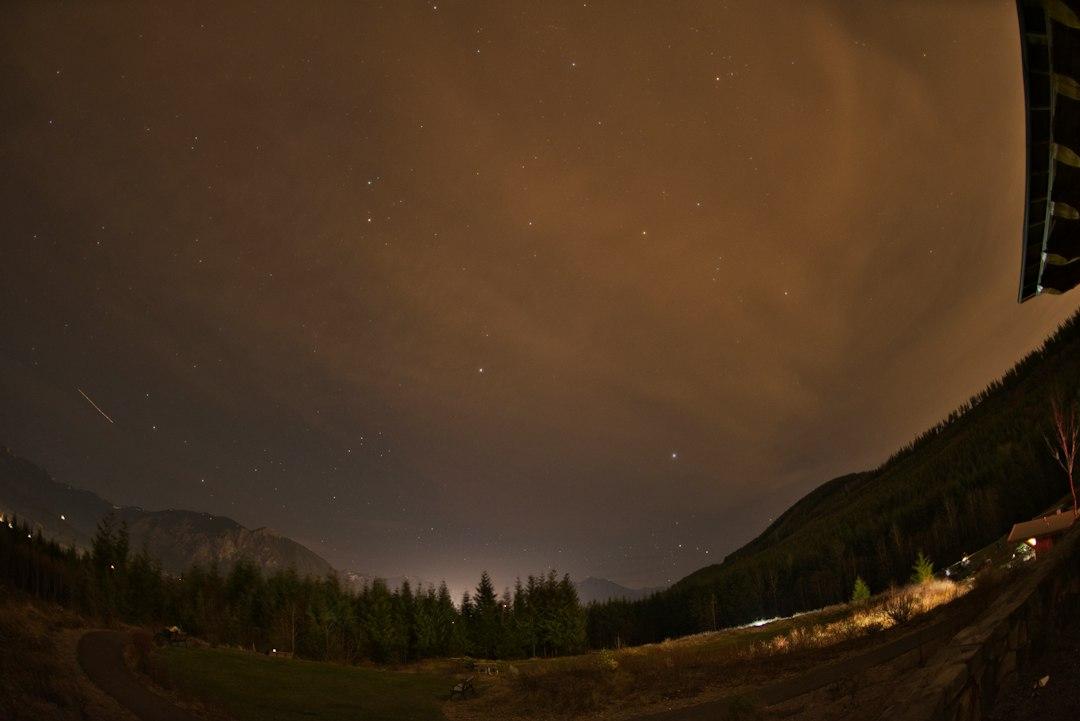
The Geminid meteor shower peaks around the middle of December, and this year it lines up with warm, clear nights across much of New Zealand. For anyone keen to try geminid meteor shower photography for the first time, this is one of the easiest meteor showers to start with. The Geminids are bright, they arrive in good numbers (often 50 to 100 an hour under dark skies), and they radiate from a point high in the sky after midnight, which gives you a long window to shoot.
You don't need expensive gear to get started. Any camera that lets you control shutter speed, aperture and ISO manually will work, paired with a wide lens, ideally something around 14mm to 24mm with an aperture of f/2.8 or wider. A sturdy tripod is non negotiable, since even a small wobble will blur your stars into short streaks. A remote shutter release or your camera's 2 second timer stops you shaking the camera when you press the button.
For settings, start with ISO 1600 to 3200, aperture wide open at f/2.8, and a shutter speed around 15 to 20 seconds. Any longer and the stars start to trail because of the earth's rotation, which isn't what you want for a crisp meteor shot. Focus manually: switch your lens to manual focus, zoom in on a bright star using live view, and turn the focus ring until that star is a tight point rather than a blob. Tape the focus ring in place once you've nailed it, so a stray bump doesn't ruin your night.
Location matters more than gear here. You want genuine darkness, away from street lights and town glow. Aoraki Mackenzie Dark Sky Reserve is the obvious choice if you can get there, but Castlepoint in the Wairarapa, Stewart Island and Wharariki Beach near Collingwood all offer properly dark skies too. Check a moon phase calendar before you head out. A bright moon will wash out fainter meteors, so aim for a night when the moon has set early or isn't due to rise until close to dawn.
Composition is where a lot of beginners stop thinking, and that's a mistake. A meteor shower photo with nothing but black sky and streaks is fine, but it's far more memorable with something in the frame to give it scale: a lone tree, an old fence line, a lake edge, a mountain silhouette. Spend ten minutes before dark working out your foreground, because you won't be able to see much once the sun is gone. If you want a proper grounding in framing and exposure before you head out, our photography course covers this kind of planning in detail, along with the manual settings you'll lean on heavily under a night sky.
Patience is the real skill in meteor shower photography, and it's the same muscle you build when you're waiting for a bird to land in the right spot or a fox to step into a clearing. If you've ever done wildlife photography, you already know the drill: set up, wait, stay still, and don't chimp your screen every thirty seconds. Meteors are unpredictable. You might go twenty minutes without seeing one, then catch three in a row. Keep your camera firing continuous frames rather than trying to time each shutter press to a flash of light in the sky; you'll miss far more than you catch that way.
Once you've got a folder of 200 or 300 frames from the night, you can stack the ones with meteors into a single composite image in editing software, which gives you that classic shot of dozens of streaks radiating across one frame. You don't need to do this on your first outing. Getting two or three clean meteor captures in a night is a genuine win for a beginner, so don't feel like you've failed if your result looks modest compared to the big composite shots you see online.
If you'd rather capture the whole night moving rather than as stills, a time-lapse sequence turned into video is a lovely way to show the sky rotating with meteors flashing through it. That's a slightly different workflow involving intervalometers and video editing, and it's something we cover properly in our videography course if you want to take it further.
Dress properly. December nights in New Zealand can still get surprisingly cold once you're standing still for three or four hours, especially near the coast or up in the high country. Bring a chair, a thermos, spare batteries (cold drains them fast) and a torch with a red light setting so you don't ruin your night vision or anyone else's. Check the forecast for cloud cover rather than rain alone; a clear sky with no moon is the single biggest factor in a good result.
If you've got questions about gear, settings or which course suits your current skill level, our FAQ page covers the common ones, and it's a good place to start before you commit to a date under the stars.