
27 October 2026
Gannet colony photography at Muriwai this summer
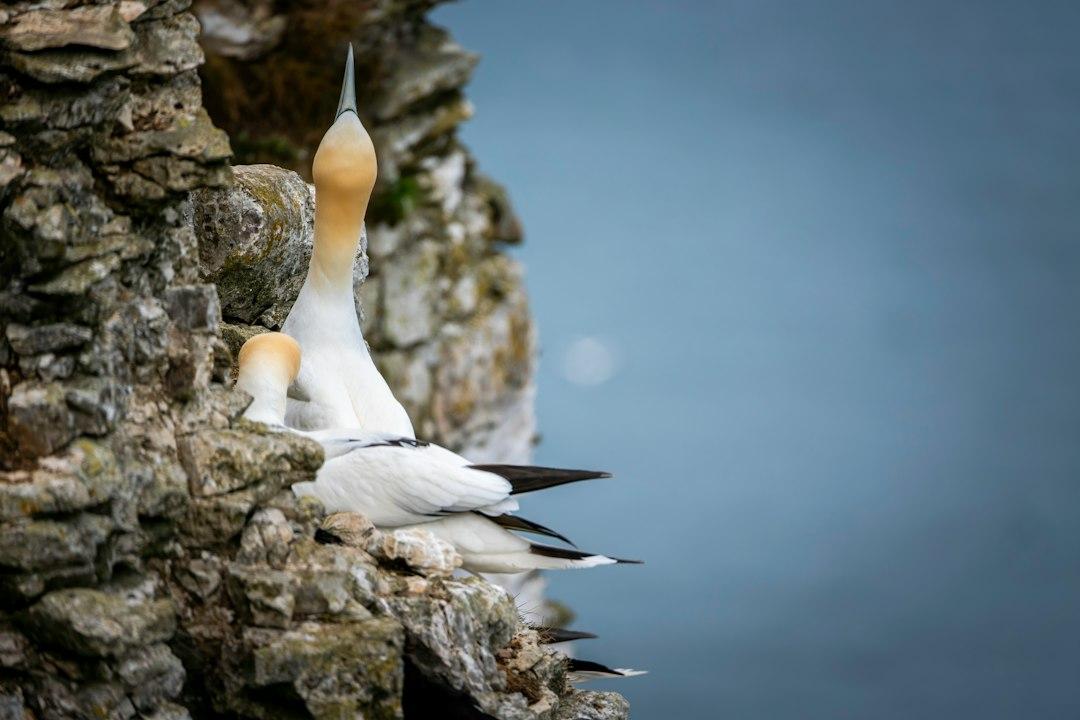
Muriwai's gannet colony is one of the easiest wildlife shoots in the country to get to, and summer is when it's busiest. Thousands of Australasian gannets nest on the rock stacks just off the coast, and from November through to February you can watch chicks hatch, parents swap feeding duties and birds riding the wind right at eye level from the viewing platform. If you've typed gannet colony photography nz into a search bar this week, you're clearly not the only one thinking about it. This is the season to go.
Get there early if you can. The car park fills by mid morning on a fine weekend, and the light before 8am is softer and warmer than the flat glare you get by noon. Overcast days actually work in your favour here too, since the white feathers of a gannet can blow out highlights fast under harsh sun. Aim to arrive within an hour of sunrise and you'll get birds lit from the side, which shows off the texture in their feathers far better than light coming straight down.
For gear, a lens in the 300mm to 600mm range gives you the reach to fill the frame without walking onto the fenced off nesting areas. If you only have a kit lens around 55mm or 70mm, don't worry. You can still shoot wide environmental shots showing the colony spread across the cliffs, which often tell a better story than a tight headshot anyway. Set your camera to shutter priority or manual, start around 1/1600s to freeze wings in flight, keep your aperture around f/6.3 to f/8 for sharpness across a group of birds, and let ISO float up to 800 or so on duller days. Switch your autofocus to continuous (AI Servo or AF-C depending on your brand) and use a small cluster of focus points rather than a single spot, since gannets rarely sit still for long.
Composition is where beginners often rush. Instead of photographing the whole colony at once, pick one bird doing something and build the shot around it: a parent feeding a chick, two birds touching beaks in a greeting display, or a single gannet gliding past with the ocean as a clean background. Negative space works well here, so don't be afraid to leave empty sky or water in the frame rather than cramming every bird you can see into one shot. If you want a structured way to practise reading a scene like this, our wildlife photography course covers exactly this kind of decision making, from choosing a subject in a crowded scene to managing fast changing light on an exposed coastline.
Patience matters more than gear at Muriwai. Birds launch off the cliff edge in bursts, often when a gust picks up, so watch the behaviour for ten or fifteen minutes before you start shooting flat out. You'll start to notice patterns: birds facing into the wind before takeoff, chicks begging loudly just before a parent regurgitates food, pairs calling to each other when one returns from fishing. Once you can predict the moment, your hit rate on sharp, interesting frames goes up a lot. This kind of observational patience is something we build into our broader photography course too, since it applies well beyond birds, from street scenes to events.
Keep your distance from the nesting areas and stay on the marked paths. The platform at Muriwai is built close enough that a 300mm lens gets you a strong shot without needing to stretch the rules, and disturbing nesting birds can cause them to abandon chicks, which nobody wants to be responsible for. If you're unsure what gear suits this kind of shoot or whether your current camera body is up to the job, have a look at our FAQ page, where we answer common questions about lens choices and camera settings for wildlife work.
It's worth mentioning that a lot of the skills here cross over nicely with other genres. Reading light on a face for a portrait photography session isn't far removed from reading light on a gannet's white feathers against grey cliffs. And if you'd rather capture the colony in motion, gannets diving for fish just offshore make for genuinely dramatic footage. Our videography course covers handling fast action with a gimbal or a steady hand, which suits a windy clifftop better than you'd expect.
If this is the first time you've tried photographing wildlife, Muriwai is a forgiving place to start. The birds are used to visitors, the location is free to visit, and you don't need to charter a boat or hike for hours to get close. Pack a lens with some reach, get there for first light, and give yourself permission to come home with only two or three shots you really love rather than three hundred average ones. If you want proper guidance on settings, composition and working with wild animals safely, our wildlife photography course is a solid next step before your next trip out to the coast.